LinkToFill: Host Fillable Forms
Turn your documents into fillable forms without leaving Dynamics 365 using LinkToFill. Your forms are accessible to anyone with embeddable HTML code, a direct link or QR code. Anyone with the link can fill out a form and submit it to you. A Dynamics 365 account is not required to fill and submit a form. Create a direct link to the fillable form and publish it on your website as a button or an HTML link.
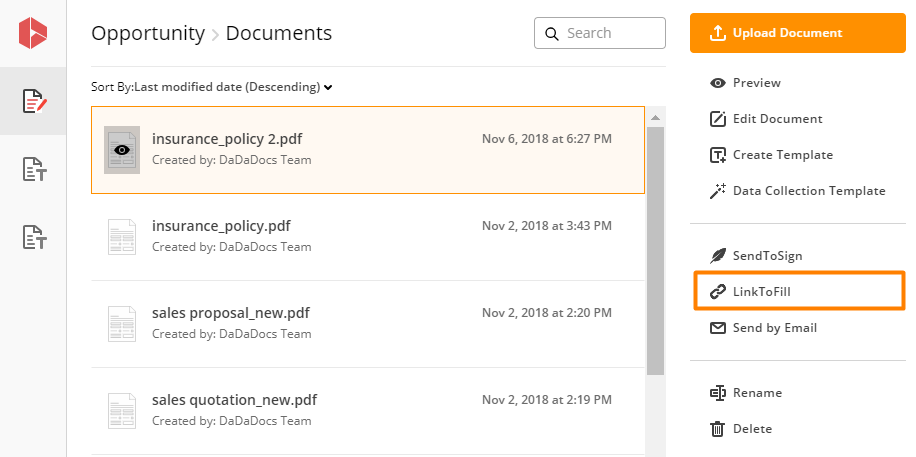
To start using LinkToFill in the DaDaDocs Documents tab select a document from the list and click LinkToFill.
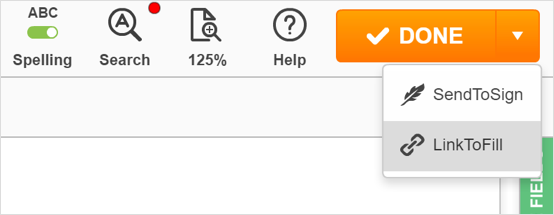
Alternatively, select LinkToFill from the DONE dropdown menu in the upper right corner while editing the document.
Customize Tab
Select your link style. Customize the embeddable HTML link.
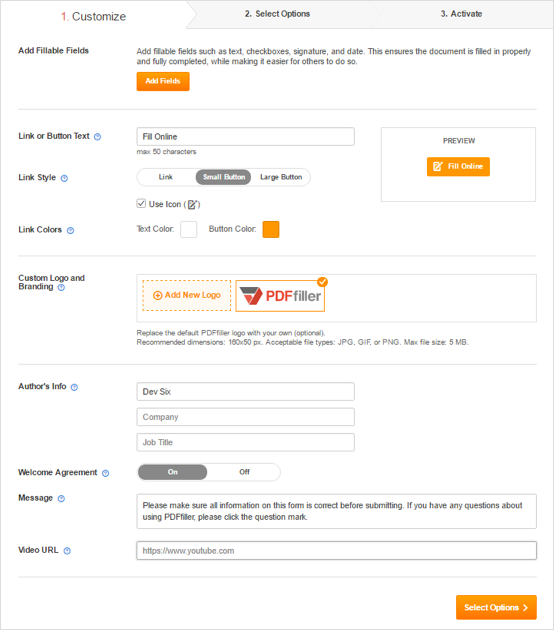
Click Add Fields to add fillable fields such as text, checkboxes, signature, dropdown, and date fields to your document. For more information, please refer to the Fillable Fields section of this guide.

Customize the Link or Button text that your recipient will see. Type your own text (up to 50 characters) in the text field.

There are three styles available:
Link

Small Button

Large Button


Customize the color by clicking the colored squares.

Your changes will be displayed in realtime in the Preview field to the right.

Upload a custom logo for your document. Click Add New Logo and follow the instructions in your browser to upload an image from your device.

You can upload any JPG, GIF, or PNG image that is less than 5 MB.
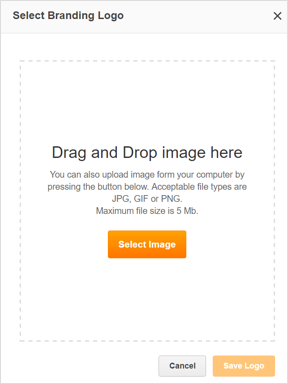
Use the slider to fit the image into the rectangular frame and click Save Logo.
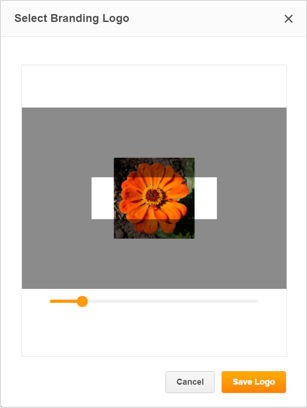
Click Add New Logo if you would like to upload another image.

Whoever fills in the form will see your logo in the upper left corner of the page. If you choose not to use this option, the DaDaDocs logo will be displayed by default.

Add the name, company and job title of the creator of the form to the Author’s Info fields. This information will be available to your recipients.

Welcome Agreement
Activate this option if you’d like to request the recipient’s consent to the terms and conditions of the use of electronic records and signatures.

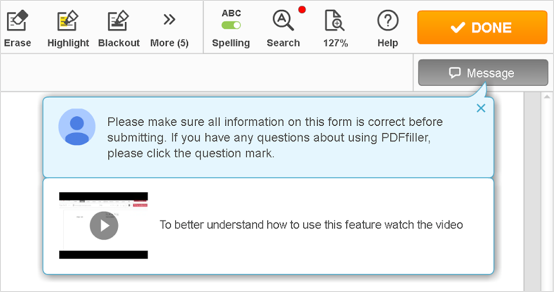
Message
Write a message such as instructions or a request.

Video URL
Add an instructional, marketing or welcome video to the document by inserting a link to the YouTube video that you’d like to attach. Note that the video needs to already have been published on YouTube. At present, YouTube is the only video hosting service supported.

Whoever opens the form will be able to watch the video.
After you’ve finished customizing the HTML, click Select Options in the lower right corner of the page to proceed to the Select Options tab.

Select Options Tab
Password Protection. Create a password to restrict access to the form. You will have to provide the password to those who need to access the form.

Permissions. If you set the editing permissions to Signature Only, the recipient will only be able to sign and date the document. If you select Full Access, the recipient will also be able to edit the document using all the editing tools in the editor in addition to signing the document.

Signature Stamp. Choose whether you’d like to turn on the Verified by DaDaDocs stamp next to the signature by checking the Enforce box. It serves as a proof of notarization showing that DaDaDocs, as a neutral third party, has verified the date and time when a recipient signed the document.

Submission Requirements. Request the name and email address from a person submitting the form.

Download Options. If you permit downloads, whoever fills out the form will be able to download a copy.

Redirect After Submission. As soon as your recipients submit the form, you can redirect them to any webpage you like: insert the URL address of the web page in the text field.

Notifications. Specify whether or not to receive an email notification each time somebody submits your form. Enter email addresses of those who will receive email notifications.

After you’ve selected all the relevant options, click Activate at the bottom of the page to proceed to the Activate tab.

Activate Tab
Authentication Phone Number. Enter a phone number to receive a text message to activate your LinkToFill form.

Set Document Status. Change the Document Status to Active or Inactive. Note that inactive documents are only visible to the author.

Once a form is active, you will be able to distribute it using the URL, HTML code and QR code.
Distribute Your Form. Provide the URL to those you’d like to complete your LinkToFill form.

Download the QR code and add it to any printed document, booklet, leaflet, etc. Smartphone users will be able to scan the code to easily access the document on their devices.
To create a Fill Form button or a text link on your website, copy and paste the HTML code to your website’s HTML. Your website visitors will be able to open the form in the DaDaDocs editor where they can easily fill out, sign and submit the form with just a few clicks.

You can also share your form through social networks such as Facebook, Twitter or Google+ by clicking the corresponding buttons and logging in to your social network accounts.

Click Done to the lower right on the page to save changes.

In the LinkToFill pop-up that will open next click OK and then check Posts in your social network accounts to get the link.
Each time a recipient fills or submits a form, it’s automatically uploaded and displayed in your Documents tab. You will receive an email notification as well, if this option was selected.
Updated less than a minute ago
